
How To Create and Manage Test Patients

For testing purposes, it can be useful to create test patients in the system in order to review and test functionality.

Creating a New Test Patient​

To create a new test patient:

1). Under the Clients / Patients tab, click the "Create New Client" button

The screenshot displays the 'Clients' section of the Mirah Measurement-Based Care platform, where users can manage patient information. At the top, there is a navigation bar with options for 'Schedule', 'Analytics', and 'Clients', with 'Clients' currently selected. A search bar labeled 'Search Clients' is available for finding specific clients. Below the navigation bar, there is a prominent button labeled 'Create New Client' located on the left side, which allows users to add new clients to the system. The main area of the screen shows a table with columns for ID Number, Flags, First Name, Last Name, Provider, Sex, and Actions, which are used to organize and display client information. Filters are available to sort by 'Provider' and 'Flags', and a checkbox labeled 'Test clients' is present for filtering test patients. The user profile, 'Vidhi Plourde', and the associated 'Test Hospital' are displayed on the right side of the navigation bar.

2). At the top of the patient creation page, select the "Test Client" checkbox

The screenshot displays the 'Create Client' page within the Mirah Measurement-Based Care platform. This page is used for creating new client profiles, specifically test clients. At the top left, there is a checkbox labeled 'Test Client' which allows users to designate the client as a test client. Below the checkbox, there are two fields labeled 'First Name (Legal)' and 'Last Name (Legal)' for entering the legal first and last names of the client. These fields are intended for inputting the client's personal information as part of the profile creation process.

3). Fill in the additional patient details, then click "Submit"

Editing an Existing Test Patient​

In order to update the status of an existing patient, either to add or remove the test patient flag:

1). Click on the "Edit Demographics" button on the patient's record

The screenshot displays the 'Test Client' interface within the Mirah Measurement-Based Care platform, focusing on patient management functionalities. At the top, the 'Test Client' label indicates the section for managing a test patient's data. Below it, a series of buttons are presented for different actions: 'Report' for accessing client reports, '[BETA] New Report' for generating new reports in beta mode, '[INTERNAL] Old Report' for viewing previous internal reports, 'Measurement Protocol' for setting or reviewing measurement protocols, 'Schedule Session' for arranging client sessions, and 'Edit Demographics' for modifying client demographic information, highlighted with a red border to emphasize its importance. The 'Disable Notifications' button at the bottom allows users to turn off notifications related to the test client. Each button is designed to streamline workflow and enhance data management for patient care.

2). At the top of the patient creation page, select or unselect the "Test Client" checkbox

The screenshot displays the 'Create Client' page within the Mirah Measurement-Based Care platform. At the top, there is a checkbox labeled 'Test Client' which allows users to designate the client as a test client. Below the checkbox, there are two text fields labeled 'First Name (Legal)' and 'Last Name (Legal)' for entering the legal first and last names of the client. This page is part of the process for creating and managing test patients, facilitating the setup of client profiles for measurement-based care.

3). Click "Submit"

Searching For Test Patients​

1). In Mirah, there is an option to search for only test patients. In order to do this first navigate to the patient search list. Next to the filters next to the search bar, click "Test client".
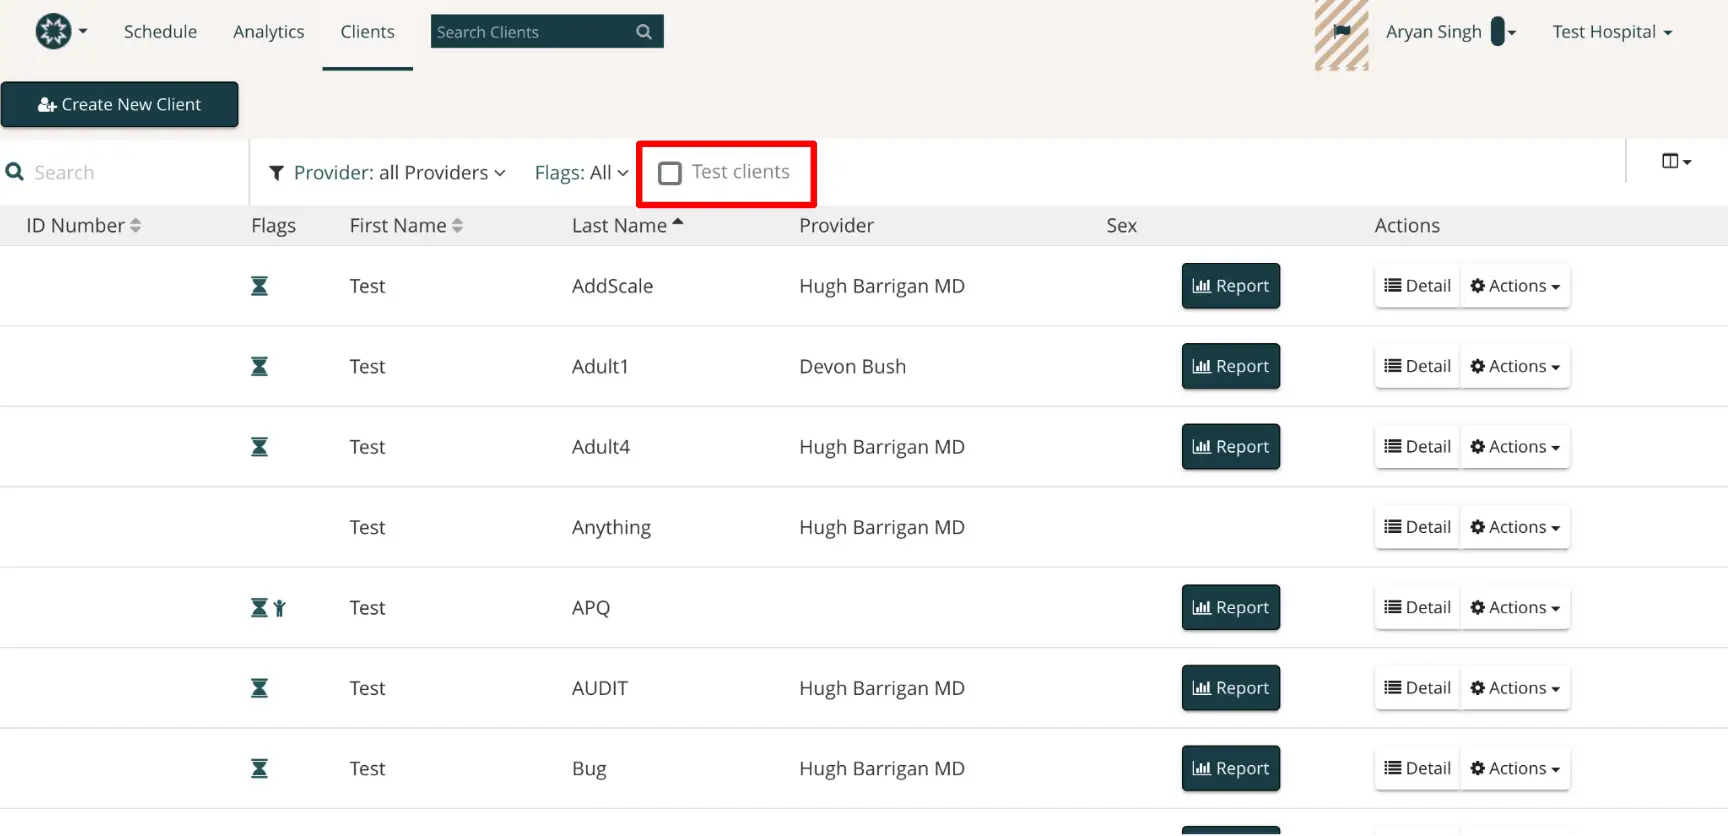
The screenshot displays the 'Clients' tab within the Mirah Measurement-Based Care platform, specifically focusing on managing test patients. At the top left, there is a button labeled 'Create New Client' for adding new clients. A search bar is available for finding specific clients, and dropdown filters allow users to select providers and flags. A checkbox labeled 'Test clients' is highlighted, indicating the option to filter the list to show only test clients. The table below lists clients with columns for ID Number, Flags, First Name, Last Name, Provider, Sex, and Actions. Each row represents a client, with options to view a 'Report', 'Detail', or perform additional 'Actions' via buttons located in the Actions column on the right.

2). After making this selection, your searches will now only be limited to the test patients that have been created in your institute

If you are facing any difficulties in managing your test patients, please reach out to support@mirah.com for further assistance.