
Creating a Manual Session for a Patient

1). Hit the "Schedule Session" button from the client's page.

The screenshot displays the patient profile page for Bob Jones within the Mirah Measurement-Based Care platform, under the 'Clients' section. The page is designed to manage patient information and schedule sessions. On the left, there are several buttons: 'Report' for generating reports, '[BETA] New Report' and '[INTERNAL] Old Report' for accessing different report versions, 'Measurement Protocol' for viewing protocols, 'Schedule Session' for booking a new session, 'Edit Demographics' for updating patient details, and 'Disable Notifications' to manage alerts. On the right, the patient's details are listed, including full legal name, preferred name, preferred pronouns, flags with an 'edit' option, date of birth, sex, gender identity, ID number, email, phone number, and the last four digits of the SSN. There is a section for related people with options to 'Add a related person' and 'Edit related people'. The care team section lists Ann Cole as the clinician with an 'Edit care team' option. The top navigation bar includes links to 'Schedule', 'Analytics', 'Clients', and a search bar for finding clients. The user profile, practice settings, help, and additional options are accessible at the top right corner.

2). Select the date and time that you saw/will see the client (the tool will default to the 30 minute window happening now).
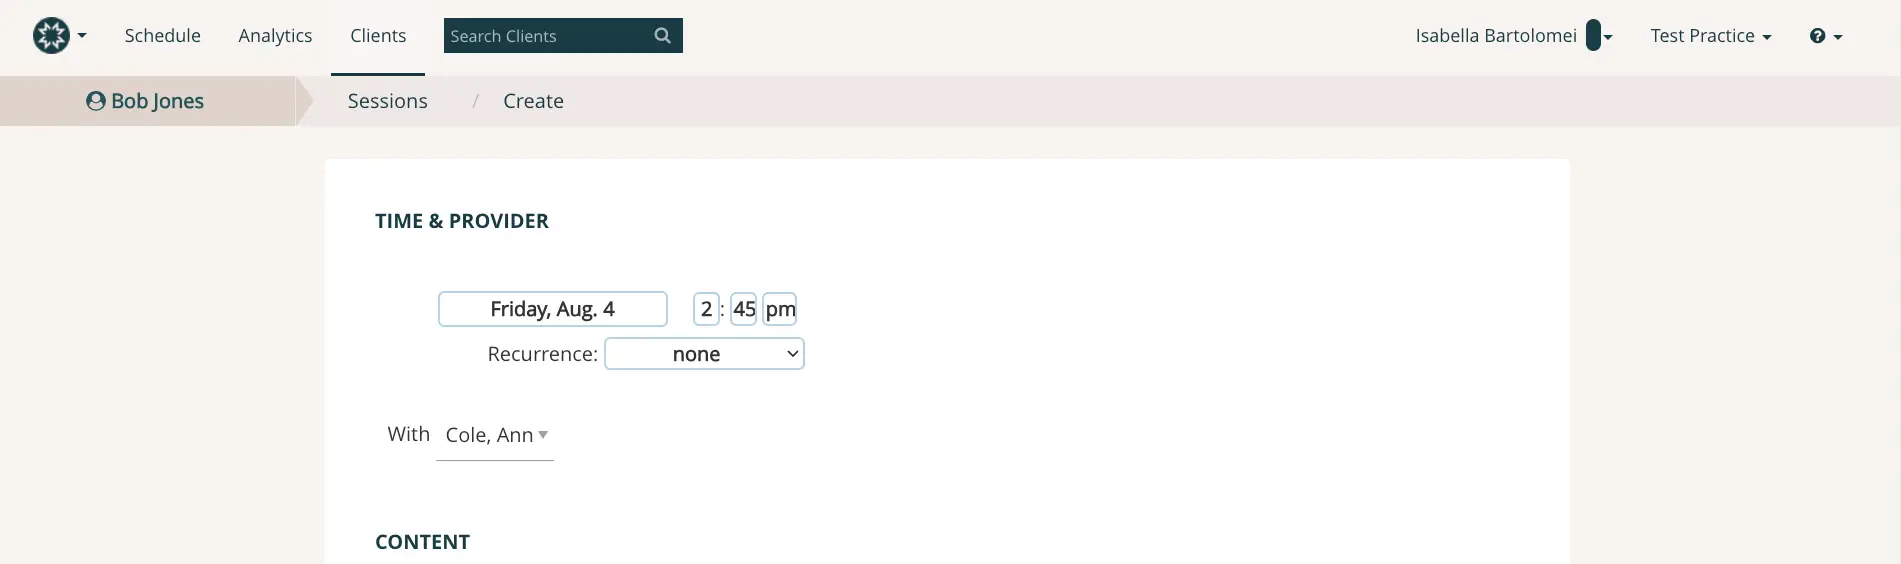
The screenshot displays the interface for creating a manual session for a patient named Bob Jones within the Mirah Measurement-Based Care platform. At the top, there is a navigation bar with options for Schedule, Analytics, and Clients, along with a search bar labeled 'Search Clients'. The user's name, Isabella Bartolomei, and the practice name, Test Practice, are shown on the right. Below the navigation bar, the breadcrumb trail indicates the user is in the 'Sessions / Create' section. The main section titled 'Time & Provider' allows the user to set the session date and time, which is currently set to Friday, August 4 at 2:45 pm. There is a dropdown menu for setting recurrence, currently set to 'none'. The session is scheduled with a provider named Ann Cole, selectable from a dropdown menu. The 'Content' section is visible but not populated in this screenshot.

3). The measure engine will, by default, send the measures tied to the protocol assigned to the client (which is consistent with the measures you requested). You can also override that choice by clicking on the "Disable measurement protocol and select measures manually for this session" hyperlink directly above the listed protocol.
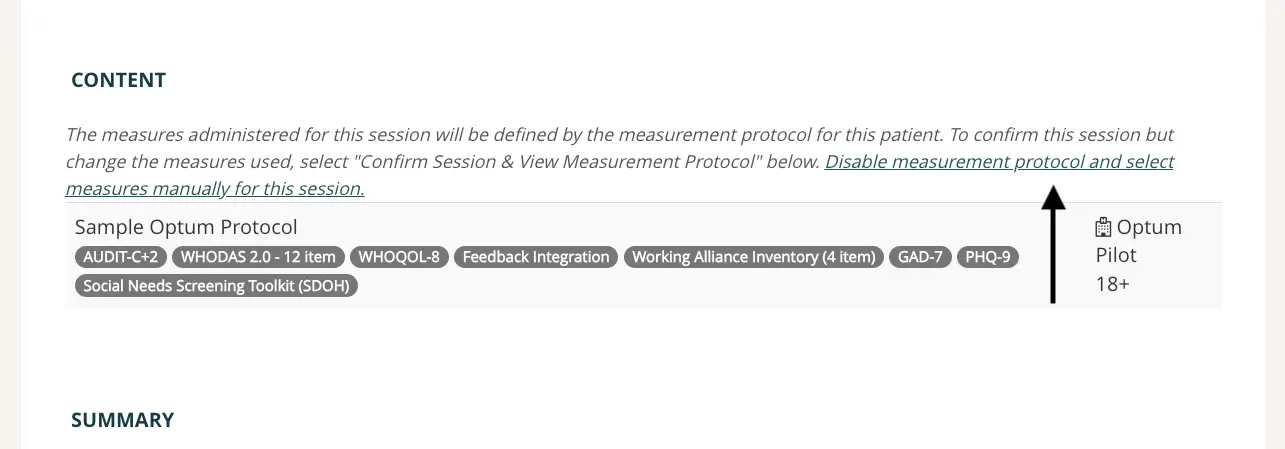
This screen is part of the process for creating a manual session for a patient within the Mirah Measurement-Based Care platform. It displays the 'Content' section, which outlines the measures that will be administered during the session, defined by the measurement protocol for the patient. The text instructs users to select 'Confirm Session & View Measurement Protocol' to confirm the session or to 'Disable measurement protocol and select measures manually for this session' if they wish to change the measures. Below this text, a table labeled 'Sample Optum Protocol' lists various measures such as AUDIT-C+2, WHODAS 2.0 - 12 item, WHOQOL-8, Feedback Integration, Working Alliance Inventory (4 item), GAD-7, PHQ-9, and Social Needs Screening Toolkit (SDOH). To the right of the table, there is a label 'Optum Pilot 18+' indicating the protocol's applicability. The 'Disable measurement protocol and select measures manually for this session' link is located below the instructional text.

4). Hit the "Confirm Session" button at the bottom of the page to send the selected measures.

The screenshot displays a section of the Mirah Measurement-Based Care interface focused on session configuration. At the top, the section is labeled 'CONFIGURATION'. Below this, there is a link labeled 'Show Configuration Settings' which likely expands or reveals additional settings options. At the bottom of the screen, there are three buttons. The 'Confirm Session' button is on the left, allowing users to finalize the session setup. Next to it, the 'Confirm Session & View Measurement Protocol' button provides an option to both confirm the session and review the associated measurement protocol. The 'Cancel' button is on the right, allowing users to exit the configuration process without saving changes.