
How to Activate New Users

Please note that your EHR may automatically add users/providers. If that is the case, please add new users in your EHR instead of Mirah directly.

Overview​

When users are added to the Mirah platform from your EMR integration, they are added in a pending state.

When a user is in a pending state

  • They will not be able to log in
  • They will not have sessions created for their appointments
  • They will not be able to be assigned to patients

Please Note​

When setting up Primary Care Physicians in CoCM, you will need to set the following additional fields:

  • Staff role = 'Primary Care Physician'
  • Access frequency = 'Rare'
    • When setting the access frequency to 'Rare', the user will not receive a welcome email or get automatically locked out of the system after 90 days. This allows care managers to assign patients to these PCPs without the PCP needing to log into the system.

When setting up a Care Manager or any clinical staff within a Collaborative Care program, their role must be Collaborative Care Manager or Collaborative Care Superuser. These are the only 2 roles that will work within the Collaborative Care platform.

How to Activate New Users

1.) Go to the user's detail page
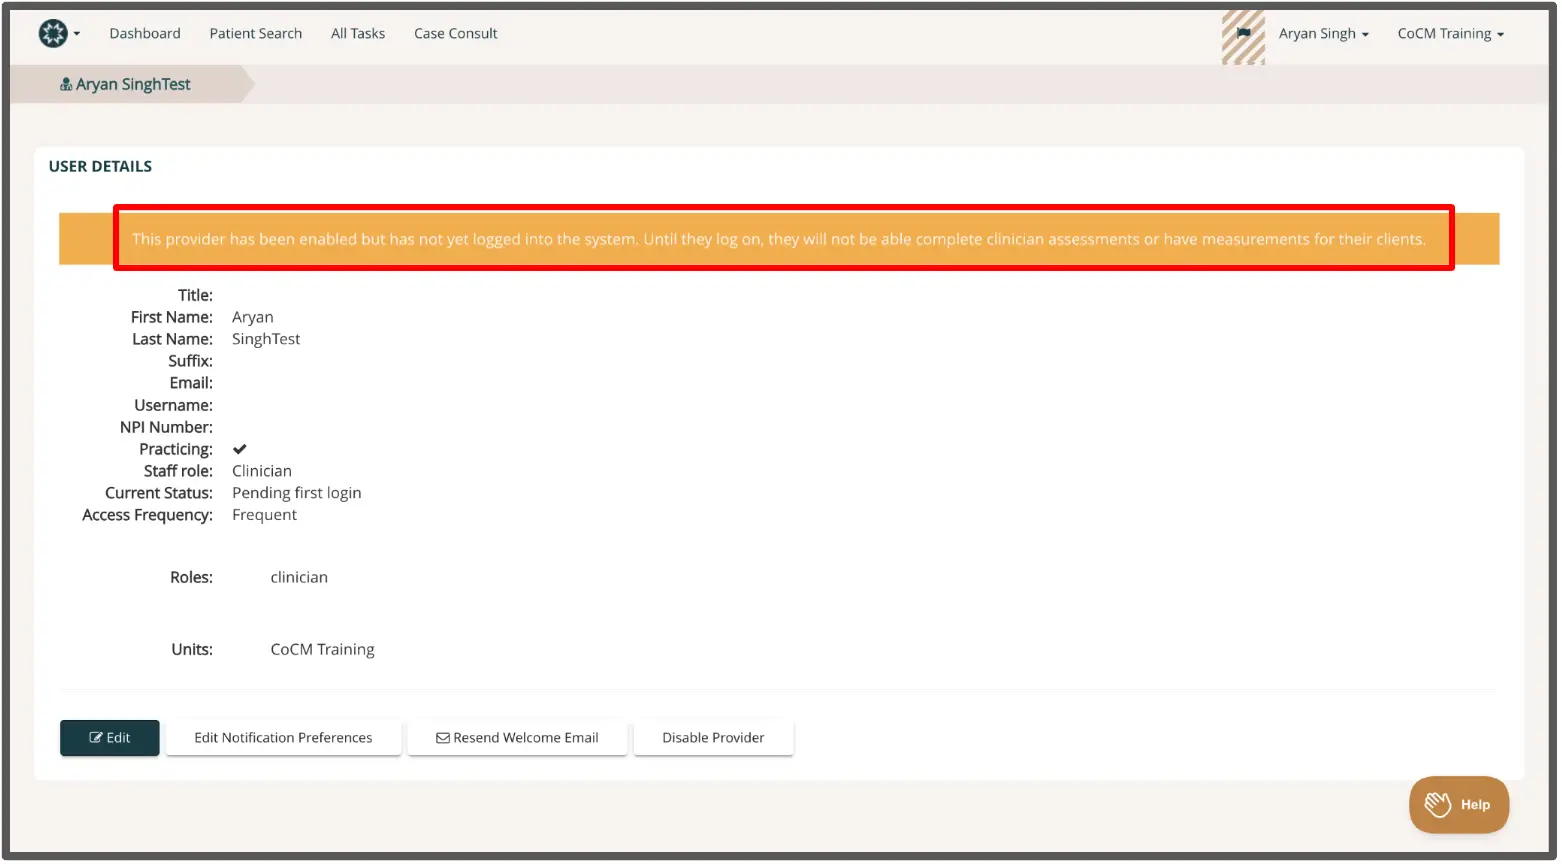
The screenshot displays the 'User Details' page for a provider named Aryan SinghTest within the Mirah Measurement-Based Care platform. At the top, there is a highlighted message indicating that the provider has been enabled but has not yet logged into the system, which prevents them from completing clinician assessments or obtaining measurements for their clients. Below the message, the user details are listed, including Title, First Name, Last Name, Suffix, Email, Username, NPI Number, Practicing status, Staff role, Current Status, and Access Frequency. The roles and units associated with the user are also displayed, showing 'clinician' and 'CoCM Training' respectively. At the bottom of the page, there are three buttons: 'Edit' on the left, 'Edit Notification Preferences' in the center, and 'Resend Welcome Email' and 'Disable Provider' on the right. The 'Help' button is located at the bottom right corner of the screen.

2.) The user will be sent an email welcoming them to Mirah and allowing them to set a password
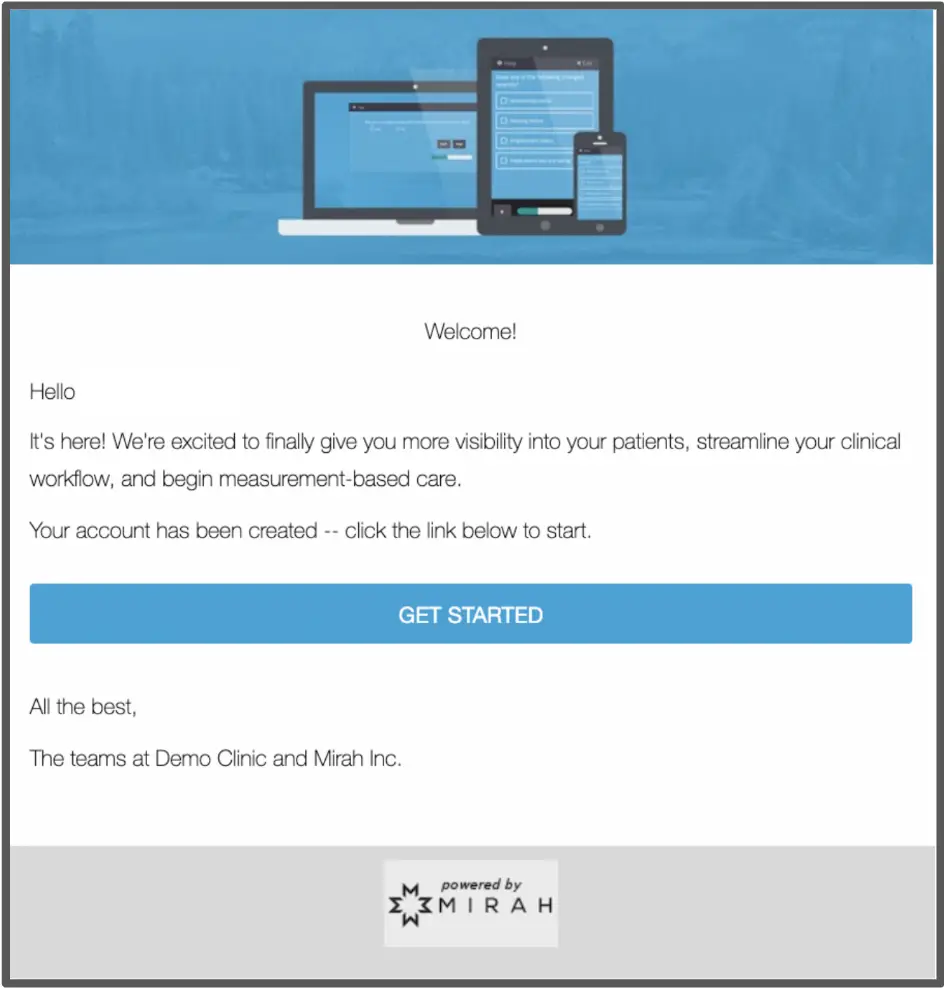
The screenshot displays a welcome email from Mirah, intended to guide new users in activating their accounts and starting with the platform. At the top, there is an image showing various devices with the Mirah interface, symbolizing accessibility across platforms. Below the image, the email begins with a greeting 'Welcome!' followed by a personalized message that expresses excitement about providing users with more visibility into their patients and streamlining clinical workflows through measurement-based care. The message confirms that the user's account has been created and instructs them to click the link below to start. The central feature of the email is a prominent blue 'GET STARTED' button, which is the call-to-action for users to activate their account. The email closes with a friendly sign-off from 'The teams at Demo Clinic and Mirah Inc.' At the bottom, there is a 'powered by Mirah' logo, reinforcing the brand identity.

From here, the user will be able to log into Mirah. If there are any difficulties in receiving the email, please contact support@mirah.com for further assistance.

Note: A user won't be fully active until they log into the application for the first time.